How to anime in CapCut. Lately, have you often seen on the TikTok and Instagram platforms a photo of someone edited into a cartoon or anime? Well, if you also want to make your photos into cartoons, I will tell you how to do it in this Mang Idik blog article.
On Android smartphones, there are many applications that you can use to edit your photos into anime. Some of them are CapCut, Snow, Picsay, B612, CaliCut, and many others.
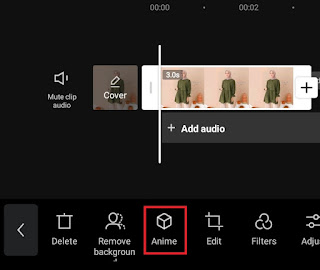
Among the anime photo maker applications that I mentioned earlier, the one that I think is the easiest to use is CapCut. Yeah! With just one click on the CapCut anime filter, in an instant your photo will turn into a cartoon or anime.
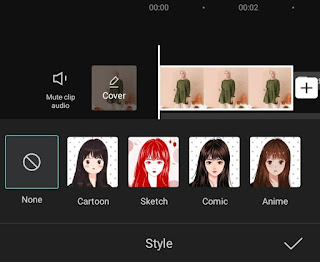
Even more amazingly, for the latest version of the CapCut app, more anime photo filters have been added. In addition to anime, now you can also make photos into cartoons, sketches, and comics that are also done with just one click.
Then, how to make anime in CapCut? Without the need to linger any longer, learn and practice how I exemplify it below.
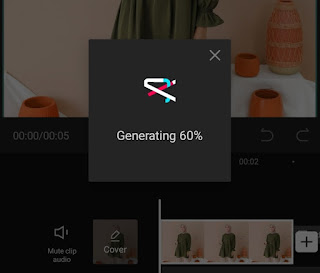
How to Edit Anime in CapCut
- Make sure you have installed the latest version of the CapCut application on your Android smartphone.
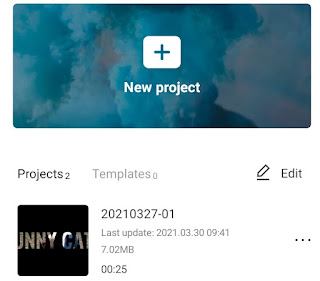
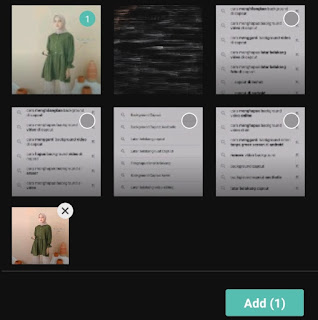
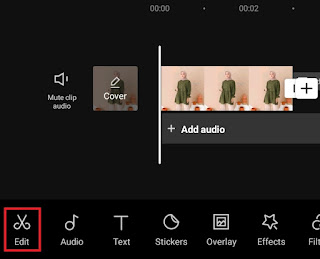
- Open the CapCut application and create a New project.
-
Take a screenshot on your Android smartphone, that way your anime photo will be successfully saved to the gallery.
You need to know, the CapCut application does not have an image or photo saving feature. Therefore, if you try to save your anime photos with the export menu, your photos will be saved in the .mp4 video format instead of the image format.
That’s why in the tutorial above I told you to take a screenshot, because that’s the only way to save your anime photos to the gallery for now. Read more: How to save video from CapCut
For a clearer and more complete tutorial, watch how I made anime photos on CapCut on the YouTube video below.
Well, that’s how to anime in CapCut to make photos into cartoons, sketches, comics, and anime itself on an Android smartphone. Do you think this article is helpful? I’m waiting for your feedback via the comment box below. So many of me and thank you.

