How to save video from CapCut. Have you finished editing a video using the Capcut application? If so, then now all you have to do is save your edited video to the gallery so you can share it with friends on social media such as TikTok, Instagram, and WhatsApp.
Apart from “save”, there are many other words used by video editing applications to named the menus or features for saving videos to the gallery, such as export, render, share, or even with just an icon. Whatever the name, they all have the same function and are the final stage of the entire video editing process.
In the CapCut application, saving videos to the gallery you can do very easily. This is because you don’t need a lot of video output settings like other video editing applications do.
In addition, even though it is a free application, the CapCut application can save videos for up to 15 minutes or more. This is one of the advantages of CapCut, considering that other video editing applications must be upgraded to premium to be able to do this.
For more details, let’s see and follow how to save video in CapCut application, which I will explain below.
How to Save Video from CapCut to Gallery
Before proceeding to how to export videos in CapCut, you should make sure that you have actually finished editing the video. For example, here I will save the video that I have added a transition effect to. Read: How to transition in CapCut
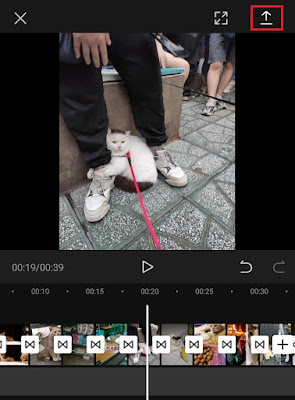
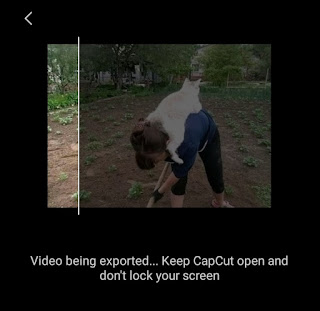
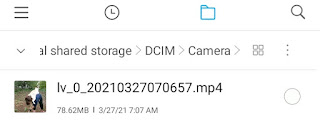
- On the CapCut application video editing project screen, tap the Export button in the upper right corner.
-
Tap the Export button.
Another CapCut tutorial: How to add text in CapCut
If you have edited photos with the CapCut application and want to save them, you cannot practice the tutorial above because your photos will be saved in the .mp4 video format. Then, how to save photos on CapCut? Learn the tutorial on how to anime in CapCut in another article.
To make it easier for you to practice the tutorial on how to save videos from CapCut, watch the YouTube video below to finish.
Well, that’s all the tutorial in this article about how to save videos from CapCut to gallery up to 10 minutes or more. Do you think this article is useful? I am waiting for your response via the comment box at the bottom. That is all and thank you.


