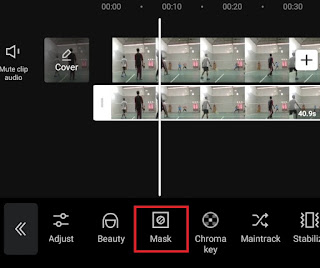
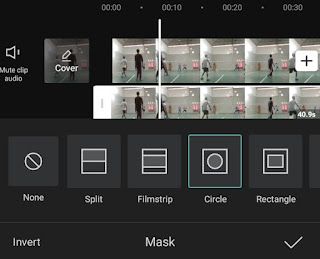
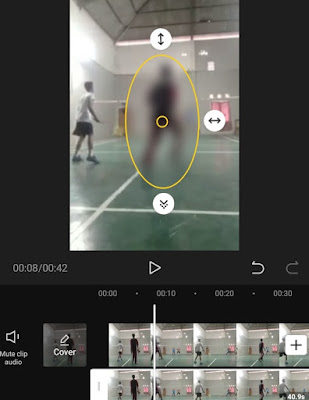
How to blur in Capcut. “Blur” is an effect and technique in photography and videography that can make certain objects in an image become out of focus so that they appear blurry and indistinct.
The blur video effect can be created manually when taking or recording a video using the camera. The blur effect will be seen if you only focus the camera on one object, so that other objects that are not in focus will look blurry.
In addition, you can also give a blur effect to the video using video editing applications. You can use the blur effect in video editing apps to censor certain objects or parts of the video, make the video background blurry, and so on.
One of the video editing apps for Android devices that you can use to blur videos is Capcut. With this Capcut app, you can blur the entire video, or only in the background or certain parts of the video.
In the following I will give an example of a tutorial on how to blur videos in Capcut app for you to learn or if you need to practice.
Read more: How to slow mo in Capcut
How to Blur the Entire Video in Capcut
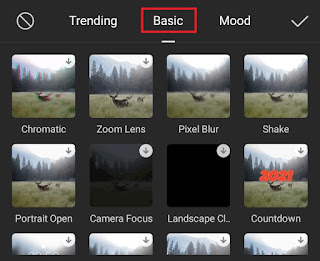
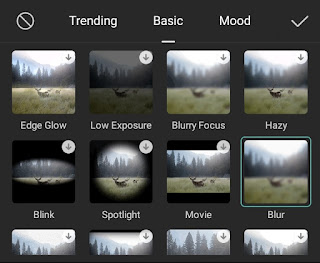
In the first tutorial, I will show you how to add blur in Capcut app that will affect all objects or parts of the video.
- Make sure that you are in the Capcut app editing project and have inserted the video that you are going to blur.
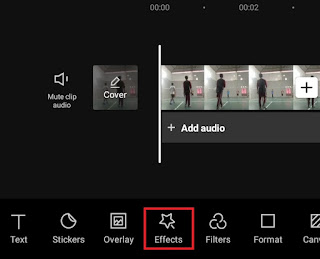
- Open the Effects menu which you can find at the bottom.
-
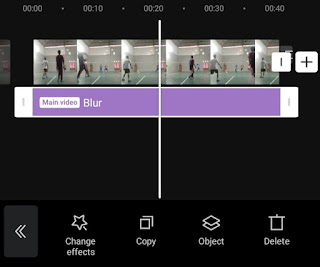
Tap the check mark to apply a blur effect.
How to Blur Background in Capcut
With the CapCut application, you can create a background for your video and then make it blurry. How is the tutorial? Learn how to blur background in Capcut below.
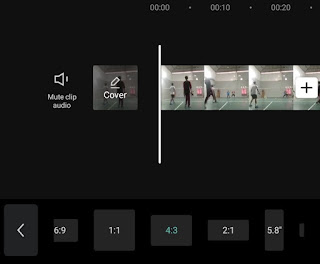
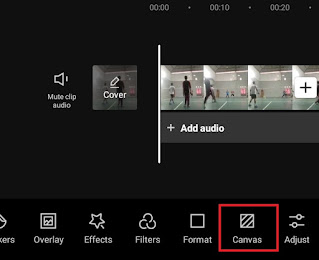
- Open the Format menu at the bottom.
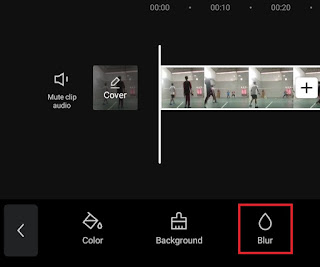
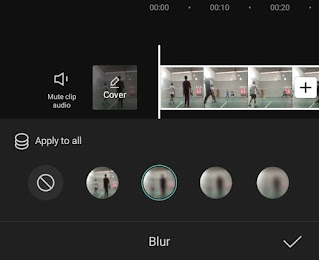
-
Tap the check mark to apply a background blur in Capcut.
How Do I Blur Part of a Video in Capcut
Apart from the two tutorials above, you can also add a blur effect in CapCut to certain parts of the video. Just like how to do green screen on Capcut in the previous article, in this case you will also use the Overlay feature.
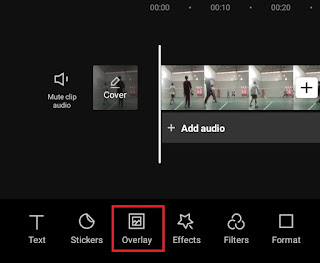
- Open the Overlay menu and tap Add overlay in it.
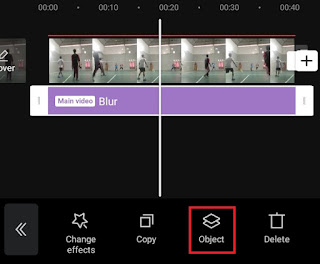
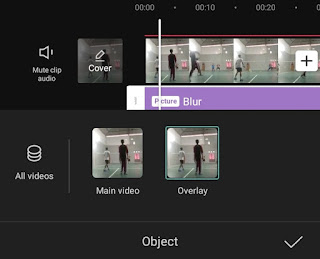
-
As usual, tap the check mark to apply a blur effect to a specific part of the video.
For a more detailed and easy-to-understand tutorial on making blur videos in CapCut, watch and study the YouTube video below to the end.
Well, that’s a tutorial on how to blur video in CapCut app on the whole or only in the background or certain parts of the video. Do you think this article is useful? I am waiting for your response via the comment box at the bottom. That’s all and thank you for visiting.


