How to do a zoom in on CapCut. Zoom or zooming is an editing technique that can increase the size of the video screen to bring the view closer to an object so that it can be seen in a clearer and more detailed way.
Zoom effects can be created manually when taking videos with the camera or automatically with the help of video editing applications.
One of the video editing applications for Android devices that you can use to zoom videos is CapCut. The good news is, you can enjoy this application that was previously named ViaMaker for free.
There are two ways on how to make zoom videos in CapCut. You can use the available zoom effects or by using the keyframe feature to make the video zoom as desired. Here’s the complete tutorial.
How to Slowly Zoom In on CapCut
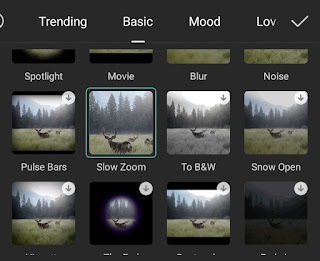
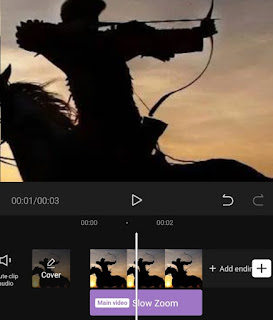
The first tutorial, how to zoom a video in CapCut is to use a zoom effect that is already available. So, all you need to do is simply select that zoom effect. Very easy, right?
- Make sure you have created a new project and added a photo or video that will be zoomed in.
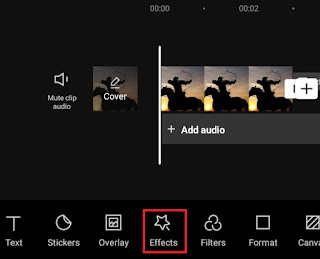
- Open the Effects menu at the bottom.
-
Tap the check mark to apply a zoom effect.
The zoom movement in the tutorial above will only appear to enlarge the video area in the middle. As for zooming the video in all directions (pan and zoom), practice the following tutorial.
How to Pan and Zoom in CapCut
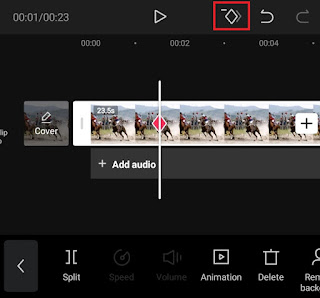
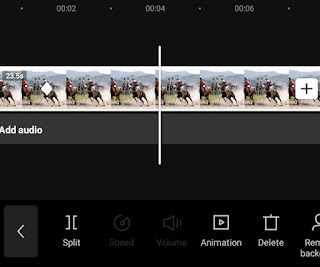
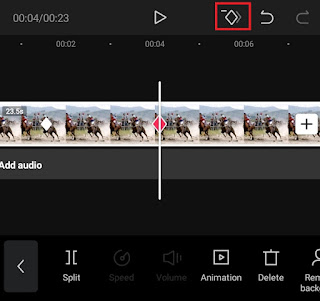
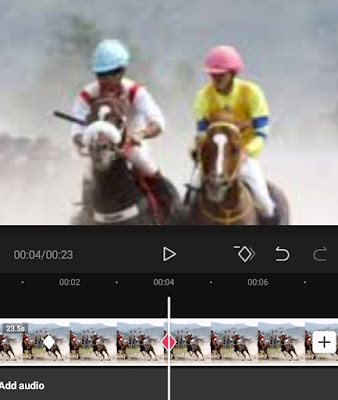
You can pan and zoom in CapCut using the Keyframe feature. This feature allows you to determine the direction of the zoom movement and which object to draw closer.
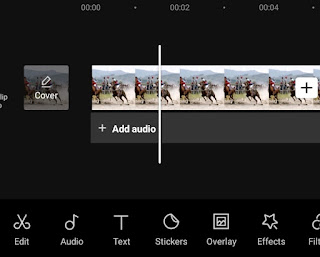
- Specify the part of the video that will be the starting point of the zoom effect.
-
Tap the play mark to see the result.
You need to know, the farther the distance between the keyframes, the slower the video zoom movement will be. If you also want to add a slow motion effect to your zoom motion, follow how to do slowmo in Capcut in another article.
If you are still confused about the tutorial to make a video zoom in CapCut above, you better watch the video below for a tutorial that is easier to understand.
Well, that’s a tutorial on how to zoom videos in CapCut using effects and keyframe features. Was this article helpful? I am waiting for your answers and responses via the comment box below. That’s all and thank you.


