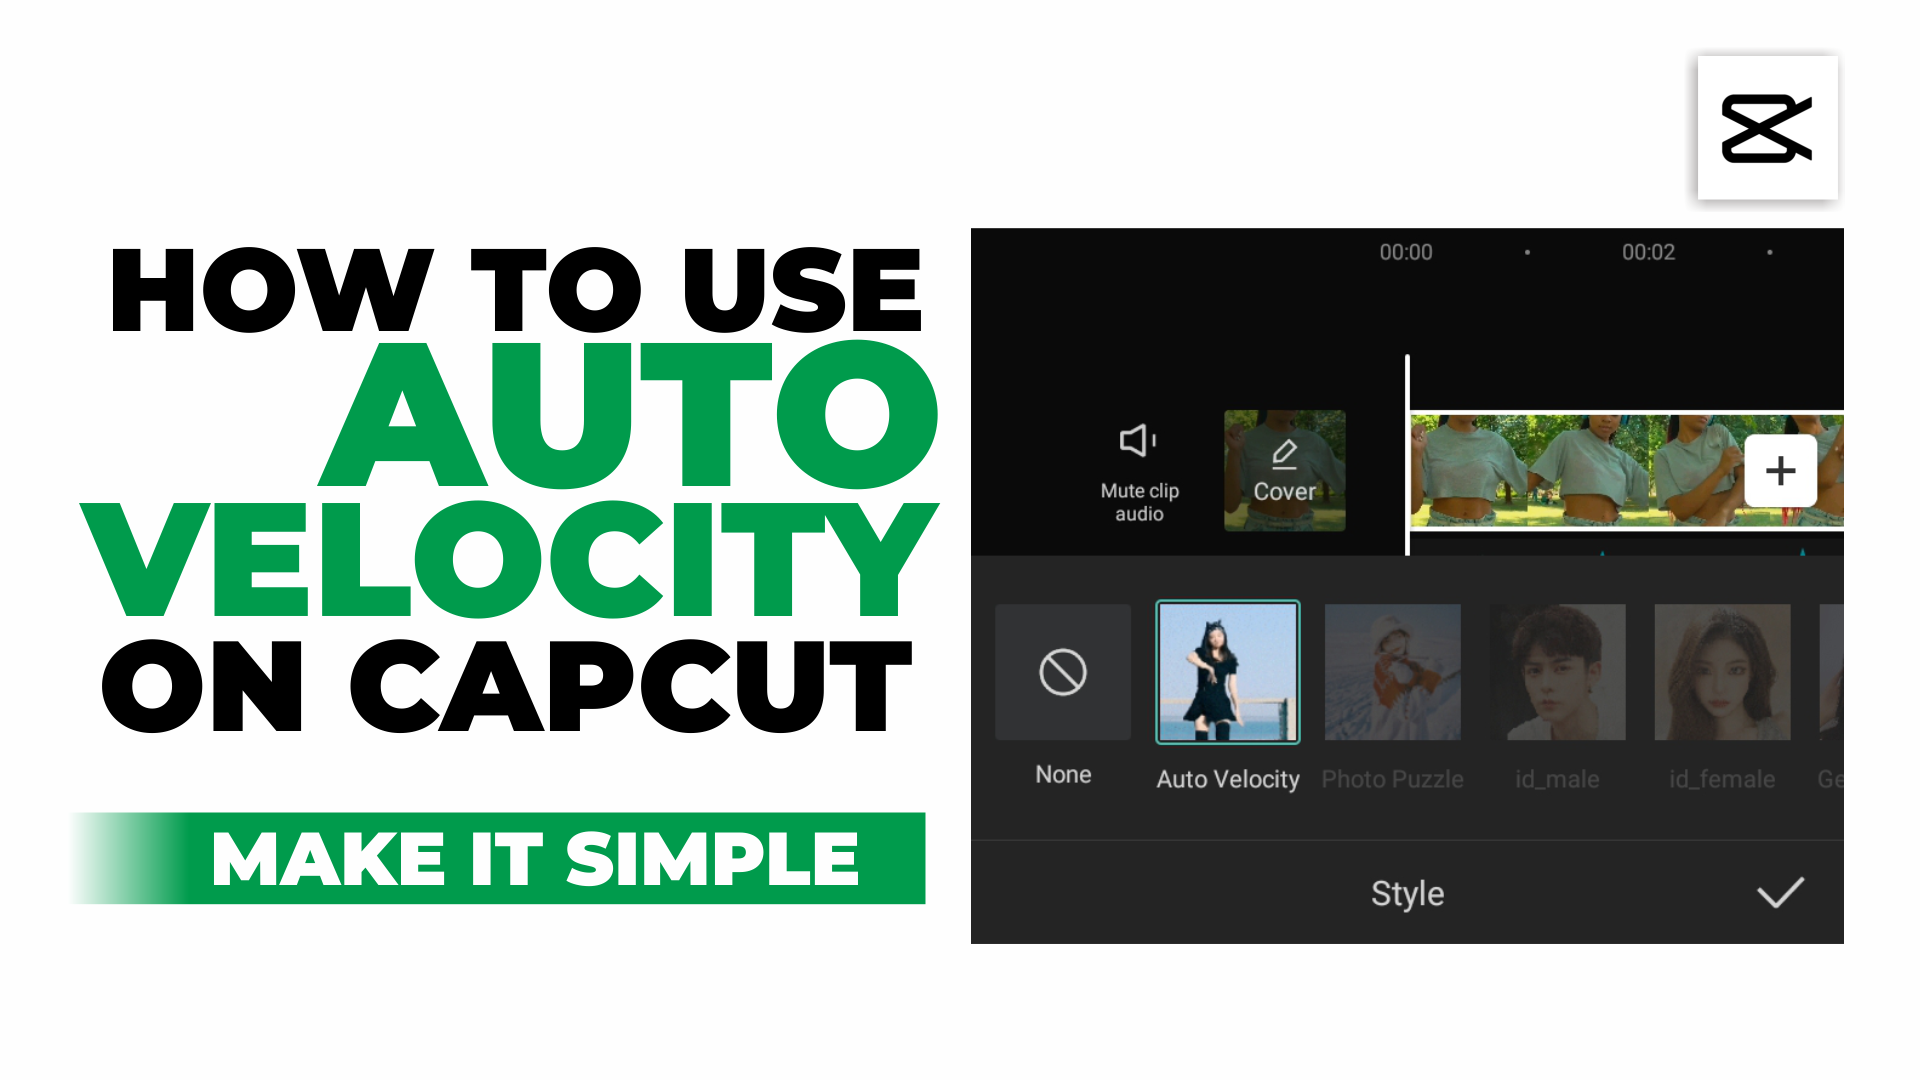
Auto velocity CapCut. Recently, one of the video editor applications for mobile devices, CapCut, has a new feature called Auto Velocity which can edit video speed to be fast and slow at the same time automatically with just one click.

Because it is one of the newest features, to get Auto Velocity CapCut of course you have to update the CapCut app that has been installed on your Android phone through the Google Play Store service first.
Also because it has just been released, the Auto Velocity CapCut feature still doesn’t have a setting in it to adjust the speed of the video to be made. Therefore, you have to be smart to find songs or music whose beats are in sync with the speed of the video after being given the auto velocity effect.
You don’t need to bother looking for it because in this article I share with you a perfect song for making velocity videos with the auto velocity CapCut feature. The length of the song is only about 9 seconds, so you will have to trim the length of your video to suit. Get the song at the link below.
Download |
After you update the CapCut app to the latest version and have the song, let’s learn and practice the steps on how to use the Auto Velocity CapCut feature below.
How to Use the Auto Velocity on CapCut
- Create a new project in the CapCut application.
- Add the video you want to edit with the auto velocity feature.
- Add the song that you downloaded above.
- Cut the video into 9 seconds according to the length of the song.
- Open the Edit menu or tap the video layer on the timeline.
- Find and open the Styles menu.
- Select and tap the Auto Velocity feature.
- Wait for the process of creating the auto velocity effect to take a few moments.
- Finally, play your video to see the result.
If you are not satisfied with the results of the auto velocity effect, with the CapCut application you can create your own velocity effect manually. Learn the tutorial on how to make velocity videos in CapCut which I discussed in another article.
For a tutorial on how to use Auto Velocity on CapCut that is more detailed and easy to understand, let’s watch the video from the Make it Simple YouTube channel below to the end.
