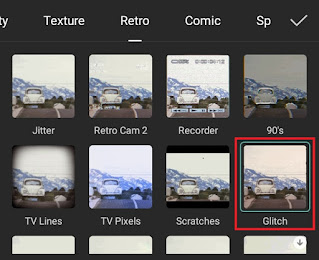
How to make glitch effect video. Do you know what the glitch effect is? Basically, a glitch is a filter that can give an image or video a “broken” effect on purpose, as if something went error on the screen causing image and color distortion. Like a DVD cassette that damaged when played, that’s what the glitch effect looks like.
Glitch is one of the most frequently added effects when editing photos and videos. Accompanied by the right sound effects, the glitch effect will be very suitable for use, for example to create YouTube video intros, as video transitions, and other ideas to create videos with cool and amazing visual effects.
There are many special glitch effect apps available on the Google Play Store, but there are very few video editor apps that have glitch effects. The Android application that we will use to add a glitch effect to the video in this article is CapCut or previously known as ViaMaker.
Besides being free and being able to make glitch effect on videos, the CapCut application also has the most complete features and video effects compared to other video editor apps. I have discussed some of CapCut’s features in previous articles, such as the copy and reverse feature to make video loops, the CapCut shake effect to create triggered videos, and so on.
Then, how to add a glitch effect in CapCut? It is very easy. Here I will explain the tutorial for you to learn and practice.
How to Add a Glitch Effect to Video on CapCut
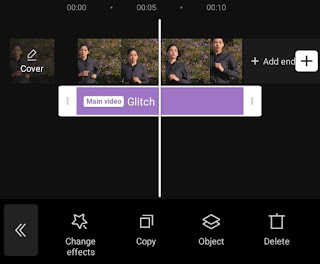
Glitch is one of the best effects on CapCut. More than one glitch effect that you can find in the CapCut application. Interestingly, you can make a video glitchy on CapCut with just one click. What are you waiting for, learn the tutorial below.
- Open the CapCut application and create a new project.
As I said above, you can use a glitch effect on CapCut, one of which is to make an intro video for YouTube. Watch and learn a more complete tutorial through the video below.
Well, that’s a tutorial on how to add a glitch effect to video on Android smartphone in the CapCut application. It’s so easy, right? I’m waiting for your answers and feedback via the comment box below. That’s all from me and thanks for visiting.


