How to bounce video and photo. Along with the rapid popularity of video sharing platforms such as Instagram, TikTok, Likee, SnackVideo, and others, video editing techniques and ideas are now increasingly varied with the use of certain effects that can make videos more aesthetic and attractive to look at.
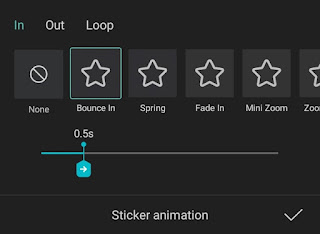
One of the many video effects that are now popular is bounce. Just like a ball thrown from a height, that’s what the video bounce effect animation looks like if you add it to your video or photo.
Good news for you, there are many video editor apps for Android or iPhone phones that you can use to add bounce effects to videos or photos. As for this article, the video bounce effect app that I will discuss is CapCut or previously known as ViaMaker. You can download and install it for free on the Play Store and App Store.
Besides being able to make bounce videos, the CapCut app also has many other popular video effects that you can try. I have discussed several CapCut video effects such as glitch, shake, flash, etc. in previous articles. You can check it if you are interested in learning and practicing the tutorial.
As for how to bounce videos in CapCut, you can learn and practice it step by step as I will demonstrate in the following.
How to Add Bounce Effect to Video in CapCut
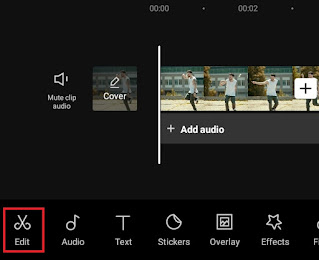
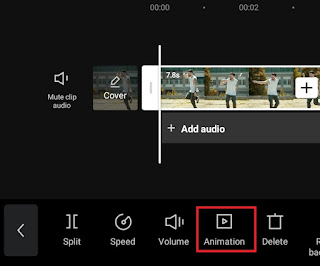
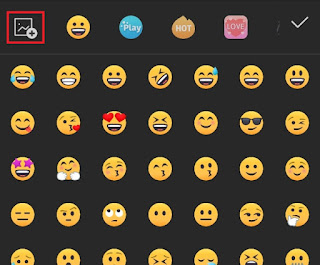
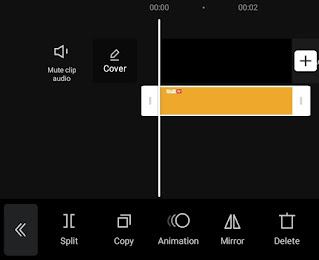
The tutorial on how to do you bounce a video on iPhone and Android with the CapCut app is very easy because you only need to do it with one click. Moreover, there is more than one CapCut bounce effect that you can get. Just follow the steps below.
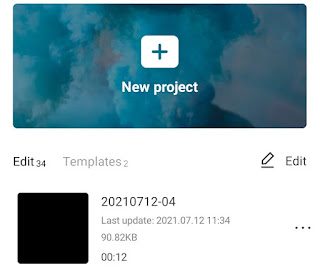
- Open the CapCut application on your phone and create a new project.
-
Finally, tap the tick button and then play your video to see the results.
How to Make Bounce Photo in the CapCut App
You can actually do the first tutorial above to add a bounce effect to the photo. However, there is another way to make bounce photos in CapCut. You can practice the tutorial below.
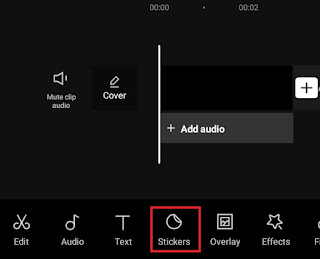
- Create a new project and add a black or transparent image as a background.
-
Finally, tap the check and play button to see your photos after being given a bounce effect.
To see a more detailed tutorial and also an example of a video that has been added to the bounce effect using the CapCut application, watch the video below until it’s finished.
Well, that’s a tutorial on how to add a bounce effect to videos and photos on Android and iPhone using the CapCut application. Is there anything you need to ask me? Say it via the comment box below. That is all and thank you.

